 uk
uk 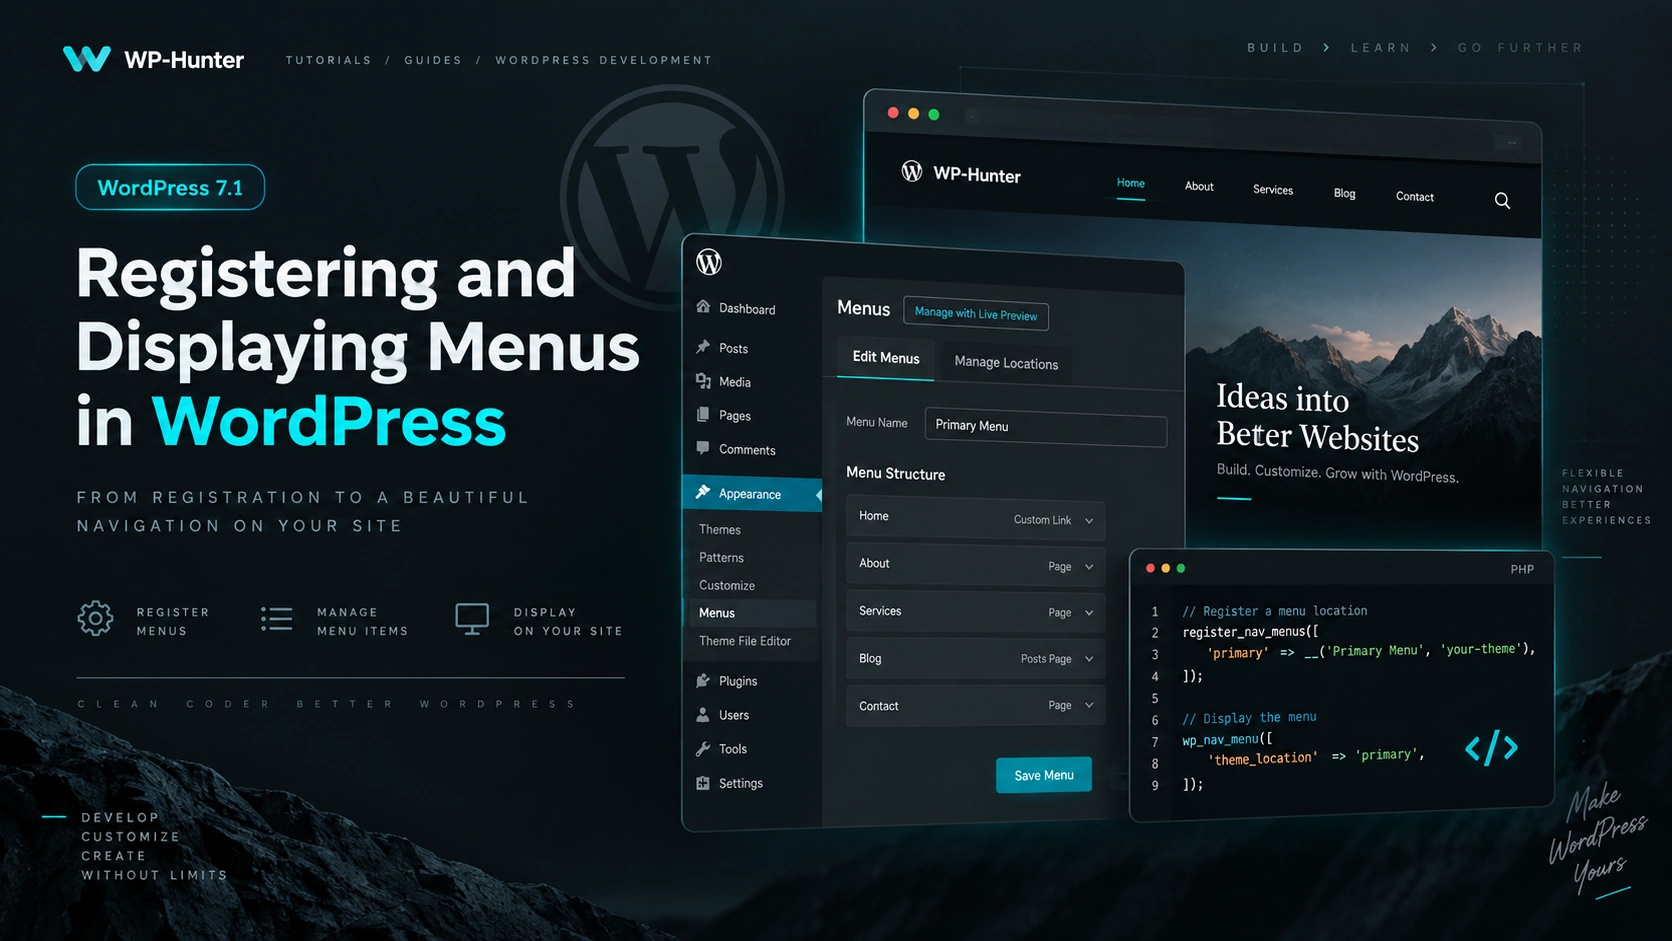
Navigation menus are one of the basic elements of any WordPress theme. If you are developing your own classic or hybrid theme, the most convenient approach is to register separate menu locations and display them in the required template areas.
In this article, we will look at how to properly register and display menus in WordPress 7.1.
Registering Menus in WordPress
To create menu locations, WordPress provides the following function:
register_nav_menus();
For example, let’s create two menu locations:
- primary menu in the header;
- footer menu.
Add the following code to your theme’s functions.php file:
function wp_hunter_setup() {

	register_nav_menus(
		array(
			'primary' => __( 'Primary Menu', 'wp-hunter' ),
			'footer'  => __( 'Footer Menu', 'wp-hunter' ),
		)
	);

}
add_action( 'after_setup_theme', 'wp_hunter_setup' );
WordPress will now recognize two menu locations:
primary
footer
primary and footer are internal location identifiers. We will use them later when displaying menus inside theme templates.
The register_nav_menus() function automatically enables menu support for the theme, so you do not need to additionally call:
add_theme_support( 'menus' );
Registering a Single Menu
If you only need one menu location, you can use:
register_nav_menu();
For example:
function wp_hunter_setup() {

	register_nav_menu(
		'primary',
		__( 'Primary Menu', 'wp-hunter' )
	);

}
add_action( 'after_setup_theme', 'wp_hunter_setup' );
However, if your theme uses multiple menu locations, register_nav_menus() is usually more convenient.
Displaying a Menu in the Theme
To display a registered menu, use:
wp_nav_menu();
For example, inside header.php:
<?php
wp_nav_menu(
	array(
		'theme_location' => 'primary',
	)
);
?>
The following parameter:
'theme_location' => 'primary'
tells WordPress which registered menu location should be displayed.
Customizing the Menu HTML
In a real project, you will usually want to control the menu wrapper, classes, and generated HTML.
For example:
<?php
wp_nav_menu(
	array(
		'theme_location'  => 'primary',
		'container'       => 'nav',
		'container_class' => 'header-nav',
		'menu_class'      => 'header-menu',
		'menu_id'         => 'header-menu',
		'fallback_cb'     => false,
	)
);
?>
The generated markup will look roughly like this:
<nav class="header-nav">
	<ul id="header-menu" class="header-menu">
		<li class="menu-item">
			<a href="/">Home</a>
		</li>

		<li class="menu-item">
			<a href="/blog/">Blog</a>
		</li>
	</ul>
</nav>
The main parameters are:
'theme_location'
Defines which registered menu location should be used.
'container'
Defines the HTML element that wraps the menu.
'container_class'
Adds a class to the wrapper element.
'menu_class'
Sets the class for the <ul> element.
'menu_id'
Sets the menu id.
And:
'fallback_cb' => false
prevents WordPress from automatically displaying another menu or a list of pages if no menu has been assigned to this location.
Checking Whether a Menu Is Assigned
Before displaying a menu, you can check whether a menu has actually been assigned to the required location.
For this, WordPress provides:
has_nav_menu();
Example:
<?php if ( has_nav_menu( 'primary' ) ) : ?>

	<nav class="header-nav">

		<?php
		wp_nav_menu(
			array(
				'theme_location' => 'primary',
				'container'      => false,
				'menu_class'     => 'header-menu',
				'fallback_cb'    => false,
			)
		);
		?>

	</nav>

<?php endif; ?>
This approach is especially useful if you do not want an empty <nav> element to appear when no menu is assigned.
Displaying a Footer Menu
The second menu location works in exactly the same way.
For example, inside footer.php:
<?php
wp_nav_menu(
	array(
		'theme_location' => 'footer',
		'container'      => 'nav',
		'menu_class'     => 'footer-menu',
		'fallback_cb'    => false,
	)
);
?>
This allows you to use one menu in the website header and another one in the footer.
Adding Classes to Menu Links
By default, WordPress adds many useful classes to <li> elements, but sometimes you may want to add your own class directly to the <a> elements.
For example:
function wp_hunter_menu_link_attributes( $atts, $menu_item, $args ) {

	if ( isset( $args->theme_location ) && 'primary' === $args->theme_location ) {
		$atts['class'] = 'header-menu__link';
	}

	return $atts;
}
add_filter( 'nav_menu_link_attributes', 'wp_hunter_menu_link_attributes', 10, 3 );
Now the links in the primary menu will look like this:
<a class="header-menu__link" href="/">
	Home
</a>
This makes menu styling much easier.
Styling the Active Menu Item
WordPress automatically adds special classes to active menu items:
current-menu-item
current-menu-parent
current-menu-ancestor
This means the current menu item can be styled with regular CSS:
.header-menu .current-menu-item > a {
	font-weight: 600;
}
For example, you can add an underline:
.header-menu .current-menu-item > a {
	text-decoration: underline;
	text-underline-offset: 6px;
}
In most cases, no additional PHP logic is required to determine the active page.
Complete Example
In functions.php:
function wp_hunter_setup() {

	register_nav_menus(
		array(
			'primary' => __( 'Primary Menu', 'wp-hunter' ),
			'footer'  => __( 'Footer Menu', 'wp-hunter' ),
		)
	);

}
add_action( 'after_setup_theme', 'wp_hunter_setup' );
In header.php:
<?php if ( has_nav_menu( 'primary' ) ) : ?>

	<nav class="header-nav" aria-label="<?php esc_attr_e( 'Primary Navigation', 'wp-hunter' ); ?>">

		<?php
		wp_nav_menu(
			array(
				'theme_location' => 'primary',
				'container'      => false,
				'menu_class'     => 'header-menu',
				'fallback_cb'    => false,
			)
		);
		?>

	</nav>

<?php endif; ?>
And in footer.php:
<?php
wp_nav_menu(
	array(
		'theme_location' => 'footer',
		'container'      => false,
		'menu_class'     => 'footer-menu',
		'fallback_cb'    => false,
	)
);
?>
This is enough to implement a standard menu system in a custom WordPress theme.
What About Block Themes?
It is important to distinguish between classic and block-based WordPress themes.
For classic themes, the standard approach is:
register_nav_menus()
combined with:
wp_nav_menu()
In full Block Themes, navigation is usually built with the Navigation block (core/navigation) inside the Site Editor, so manually registering menu locations with PHP is generally unnecessary.
However, if you are developing your own classic or hybrid theme with header.php, footer.php, and PHP templates, register_nav_menus() and wp_nav_menu() remain a simple and convenient solution.
Conclusion
For menu management in a classic WordPress theme, you mainly need two functions:
register_nav_menus();
— registers menu locations;
wp_nav_menu();
— displays the menu in the required template location.
The connection between them is made through:
theme_location
For example:
'primary'
is registered in functions.php and then passed to wp_nav_menu() when displaying the menu.
This approach allows WordPress to manage the navigation structure while giving the theme developer full control over the markup, CSS, and display logic.